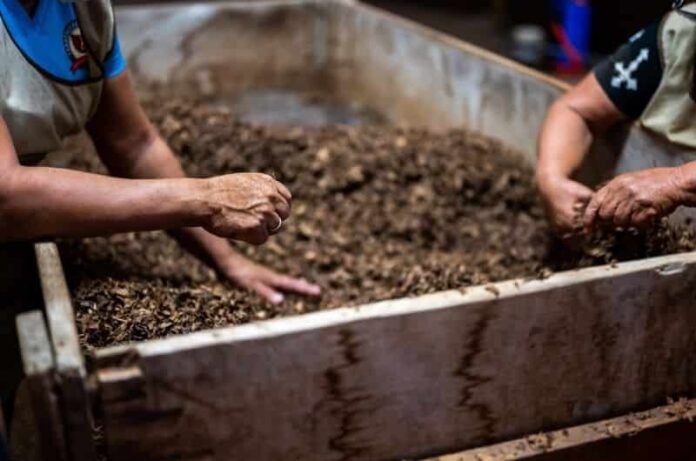
If we tell you a secret idea of boosting the growth of your plants naturally, would you like that? Certainly, the answer is yes. In this way, you could reduce the garbage. By using the kitchen scraps for making the rich and superfood. We are talking about vermicomposting.
If you don’t know about this, don’t worry. This guide is to keep you informed about all the necessary details about vermicomposting. Let’s look at that –
What Is Vermicomposting?
The thing you need for vermicomposting is just the waste and worms. Yes, vermicomposting is the residual or the product that is created after the digestion of earthworms. It is the process where the earthworms and other micro-organisms eat the organic materials and break them down into mineral-rich products for the soil. You can use vegetable/ fruit peels, tea bags, bread etc., but animal byproducts like fat, bones, pet poop such things can’t be used in vermicomposting. Also, plastics, fabric tea bags can’t be consumed by the worms.
Guide for Vermicomposting at Home
1. Bin For Vermicomposting DIY
- Take 8-14 inch deep and dark container with tight lids.
- Drill some holes of around ½ to 2 inches on the upper or three-inch sides of the bin for air. Stick a net on that so that worms couldn’t escape and air passes easily.
- Lastly, make six holes in the bottom for drainage of ¼ inch. Cover them with a net too.
You can also buy bins designed for vermiculture.
2. Bedding Material
You can use either finished compost or manure or slits of papers, dry leaves. But make sure you keep the moisture maintain in any of them. Don’t make it soggy. You can dip the paper and leaves and then wring it gently.
Also, mix a handful of soil with it if you are putting peels from the kitchen. It is advised to cover them with bedding two-inch of soil at least. To avoid flies feeding them.
3. Temperature Maintenance
To let the worms survive well and keep safe, the ideal temp. is 59F and 77 F. Take it as you are taking care of any other living creature. For the successful vermicompost, worms need comfort, shelter, food and air.
In case of the cold climate, you must keep it warm. The survival temperature varies from 32F to 95 F. At least 4 inches of bedding are important for insulation. Keeping them in the shade is the best option to keep them safe from excessive heat.
4. Specific Worms
The most important factor, the star of your show. You cannot just put any worms in the pit. Specifically, the red wigglers are used among the variety of hundred. Eisenia fetida is the biological name for these most preferred composters.
In contrast, only 100 red wigglers are good to go. You can get them from the suppliers like worm composting headquarter or meme’s worms. They cost around $45 to $75. You can also go for European night crawlers, but they should be around a pound.
5. Harvesting
Some of the ready-made bins might have a filter to filter the fine worm castings. IN case of the homemade bin after six months. You can start feeding the worms on one side only, and then you can scoop the castings of worms from the left side.
You can now use this compost directly to the garden. Or keep it in the bag, which allows air and maintains moisture. In this process, you can opt for worm combs or garden forks. The small shiny, brown and match-sized things could be the worm eggs; use them in your fresh bedding.
Pros
- This helps in germinating the seeds faster, as it contains plant growth hormones
- These elements are also used to protect plants.
- These help in the development of roots and plant strengthening.
Cons
- Onions or garlic can’t be added; it leaves a pungent smell.
- This requires attention and concentration to reduce chances of multiplying bacteria risk.
The best thing about vermicomposting is, it is eco-friendly. This practical method can elaborate a lot about decomposition, microbiology, managing organic residuals and earthworms at home. Also, this can be considered as a teaching tool for your children in this pandemic.


