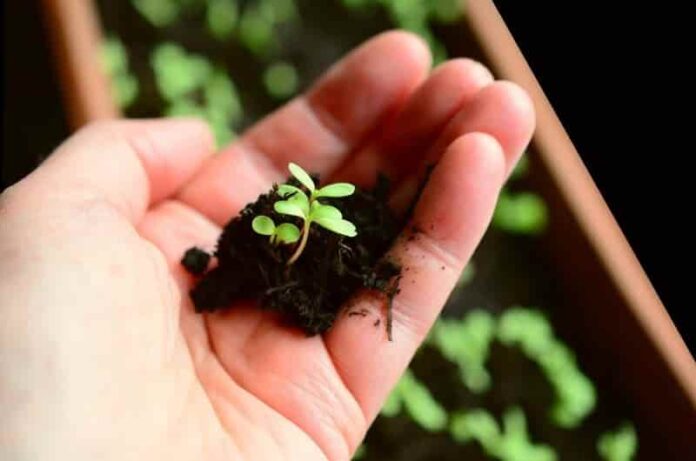
Do you want to know about the steps taken before sowing seeds that make them grow better? To germinate any seed, it is very important to make sure that the seed is healthy and free from any bacteria. There is some pre-sowing preparation which is done by the gardener.
In this article, we will discuss those steps and how they affect the shell life of the seed and the result. So let’s get started.
What is Pre-sowing treatment?
Pre-sowing treatment is done before planting the seeds. It means the things that the gardener does with the seed before planting them like soaking, changing in temperature, and keeping them in dark. This process is different and depends on the type of seed the gardener uses.
Things to remember while pre-sowing the seeds
There are some things that you need to check before pre-sowing the seeds so that you can save time and effort.
- Not every seed requires pre-sowing treatment. You can check the packet of the seeds if there will be a need for pre-sowing treatment, and then it will be mentioned in it.
- Vegetable seeds and annual flower seeds don’t require pre-sowing treatments.
- If you have a seed collected from any fruit or vegetable, then it’s better to wash the seed properly so that there won’t be any pulp in it.
- Check the instruction on the pack carefully as some seeds don’t require to be soaked in water to absorb it before sowing.
What are the steps of pre-sowing seed treatment?
- Scarification
In this step, the hard seeds get weakens or get damaged so the water can enter into the seed easily. To do this process, you can use different items like sandpaper, nail file, nail clippers, and even acids. - Stratification
Stratification means the seed has to go through different temperatures to initiate germination. You can do this stage with dry seed, or moist seed. The seed has to be in a warm temperature which is normal like 20-25 degrees and a cold temperature like 5-10 degrees. - Soaking
You just have to leave the seed in the water for a specific period or you can leave them on soaking overnight. If you soak the seed for a longer time, then it would be better if you change the water after 24 hours so that any chemicals that are released from the seeds can be thrown out. After that, you can proceed with the germination process. - Tail Removal
Some seeds such as pulsatilla and clematis have tails on their seeds. Some gardeners and experts feel that the tail would disturb the process of germination. Also, you can handle the seed easily when the tail will be removed. - GA3 Hormone Treatment
After coming out from the dormancy, the level or amounts of the hormone present in the seeds change. It is quite common to increase the amount of GA3 i.e. gibberellic acid just before the germination. This hormone will help in boosting the process of germination and also helps in speed up the shoot’s development. These are the pre-sowing treatment which helps in proper germination of the seed. With the help of these processes, you can grow a healthy plant with no chemicals in it.


